

Early detection of paint chips is key to efficient repair, preventing severe collision damage. Select a kit for plastic or metal surfaces with tools for precise repairs and color match. Follow degreasing, sanding, priming, painting, and clear coating steps for seamless restoration.
“Discover expert tips for mastering paint chip repairs with our comprehensive guide. Learn how to identify early signs of flaking or peeling paint, crucial steps in selecting the best repair kit suited to your needs, and a detailed process for effectively fixing damaged areas. By implementing these advanced techniques, you’ll achieve seamless results, ensuring your surfaces look as good as new. Simplify paint chip repairs with our practical advice and reclaim your space’s beauty.”
- Assessing Damage: Spotting Paint Chip Issues Early
- Choosing the Right Repair Kit: Factors to Consider
- Step-by-Step Guide: Applying and Fixing Chips Effectively
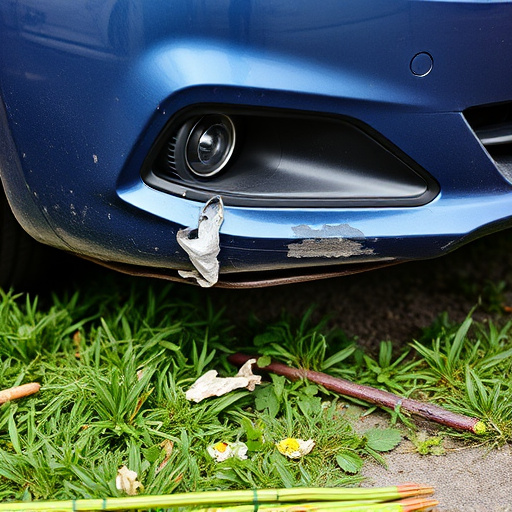
Assessing Damage: Spotting Paint Chip Issues Early
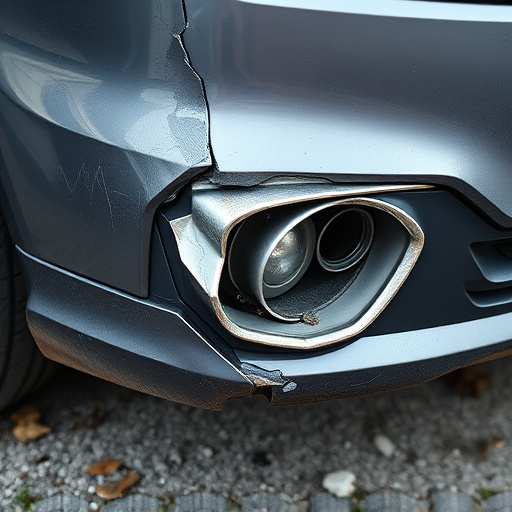
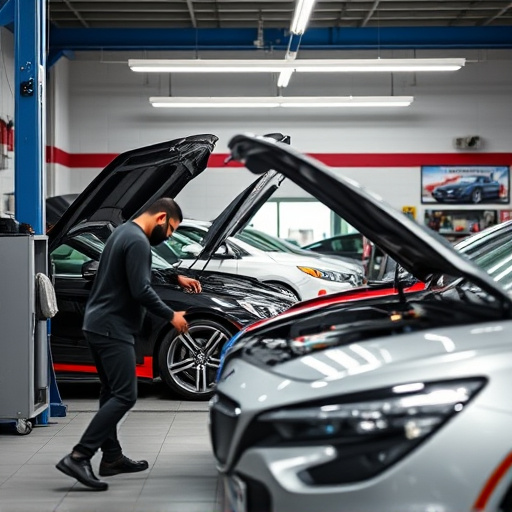
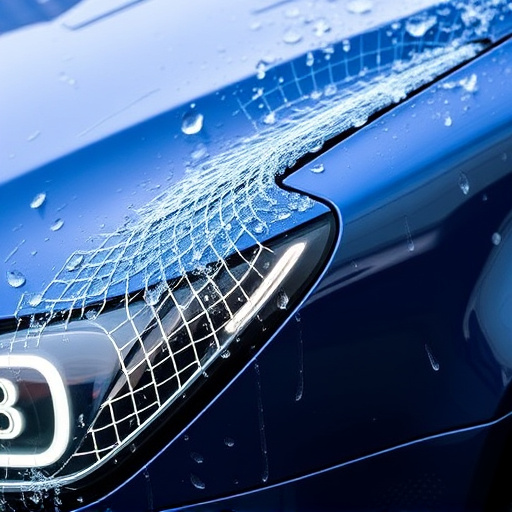
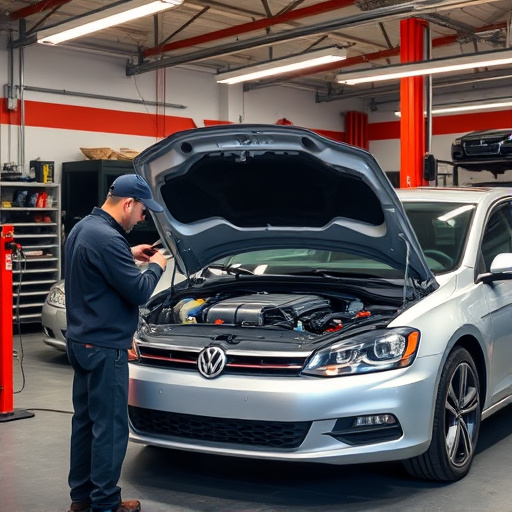
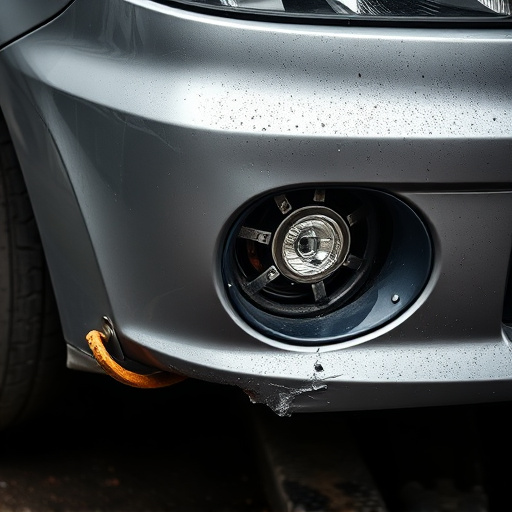
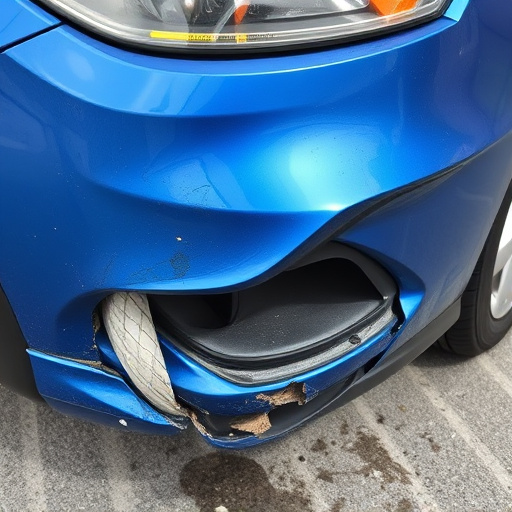
Identifying paint chip issues early is a crucial step in effective paint chip repair. Regularly inspect your vehicle’s bodywork for any signs of damage, such as small cracks, flaking, or chips in the paint. The earlier you spot these problems, the easier and less costly it will be to fix them. Look for paint chips around door handles, fenders, and other high-contact areas where dents and dings are more likely to occur.
Preventive maintenance is key when it comes to paint chip repair. By keeping an eye on your vehicle’s condition and addressing small issues promptly, you can avoid more significant and costly collision repairs later on. Remember, a simple checkup can save you time and money in the long run, ensuring that your vehicle’s bodywork stays in top shape.
Choosing the Right Repair Kit: Factors to Consider
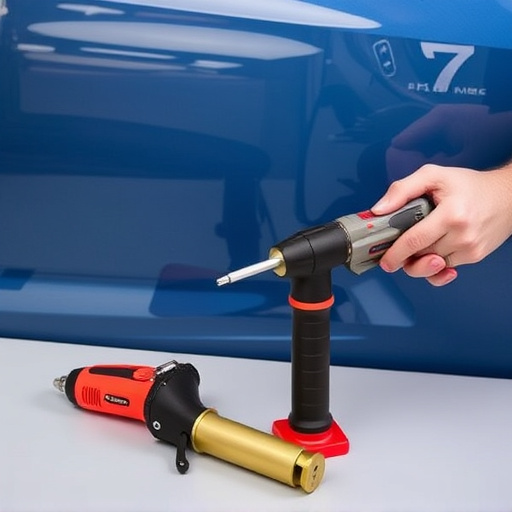
When selecting a paint chip repair kit, it’s crucial to consider several factors to ensure optimal results for your auto body repair needs. First and foremost, determine the extent of the damage. Paintless dent repair kits are ideal for minor chips and dents, allowing you to fix them yourself with minimal effort and no need for messy painting or complex procedures. These kits often come with tools designed for precise manipulation, ensuring a smooth finish that blends seamlessly with your vehicle’s original paint job.
Additionally, consider the type of surface you’re repairing. Some kits are specifically formulated for plastic, while others cater to metal surfaces. Choosing the right kit depends on whether you’re addressing a chip in your car’s plastic trim or a dented fender. Furthermore, check the coverage and color match options. Many kits offer a range of colors to match various vehicle finishes, ensuring a repair that looks as good as new. This attention to detail is vital for maintaining your car’s aesthetic appeal, especially when dealing with automotive collision repair or trying to restore your vehicle to its pre-accident condition.
Step-by-Step Guide: Applying and Fixing Chips Effectively
Repairing paint chips on your vehicle using a paint chip repair kit is an easy and effective way to restore its original appearance. Here’s a step-by-step guide to ensure you achieve optimal results. Start by preparing the area around the chip; clean it thoroughly with a degreaser to remove any dirt or oil. This step ensures a clean surface for painting.
Next, gently sand the damaged area using fine-grit sandpaper provided in the kit. This process helps smoothen the edges of the chip and creates a slightly rough texture that aids in bonding. After sanding, use a primer designed specifically for car body repair to prime the area. Allow it to dry completely as per the manufacturer’s instructions. Once primed, apply the color paint from the kit, matching it closely to your vehicle’s original shade. Utilise thin, even coats for the best results. Let each coat dry before applying the next to avoid mistakes. Finally, add a clear coat to protect the repair and achieve a seamless finish that blends in perfectly with the car’s existing paint job, effectively mending collision damage and enhancing your car restoration efforts.
When it comes to repairing paint chips, taking proactive steps can save you time and money in the long run. By assessing damage early, selecting the right repair kit based on your needs, and following a meticulous application process, you can restore your surface to its former glory. Remember, a little care and attention goes a long way in maintaining a professional finish, ensuring your paint chip repairs are both effective and invisible to the naked eye.